Generate
Step 1: Open the Braille Sign
- Open the design in CadHub.xyz by right clicking this link and opening in a new tab.
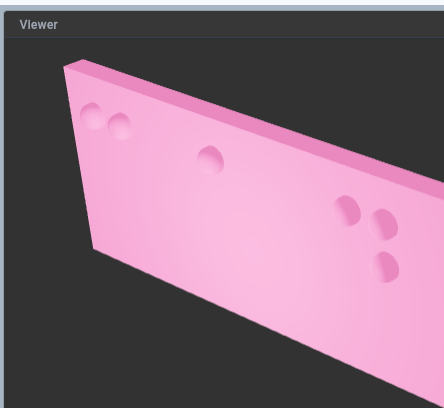
- The default braille sign should generate within 30 seconds or so. If it does not, click the Render button to re-render it.

Step 2: Modify the Braille Sign
- There is a variable at the top of the model script which is called
text.

- Modifying the text inside the quotes will change what braille dots are generated in the model.

Step 3: Render the Modified Braille Sign
- Click the Render button to generate the sign with the new braille based on the text variable.

- Once the render is complete, it should be possible to rotate, pan and zoom the image in the Viewer.
- Left mouse click and drag to rotate.
- Mouse wheel click and drag or roll to zoom.
- Right mouse click and drag to pan.

Step 4: Download the Modified Braille Sign
- Once the render is complete, the Download STL button can be clicked to download an STL file that can be used with slicer software.

Once the file has been downloaded, move on to the Print step.